Showing posts with label Dessert. Show all posts

Saturday, 26 October 2013

Autumn Pumpkin Recipe Series II {Cardamom Spiced Maple Roasted Pumpkin Pie}

Recipe number two in the Turnip & Bean Autumn Pumpkin Recipe Series, is a classic: pumpkin pie.


I have eaten a lot of pumpkin pie in my day. Some of the best have come from the Grandmas, Nanas and Mothers in my family and of other friends. While I wanted to channel the classic pumpkin pie flavours, I also wanted something a bit different. I decided to use cardamom and freshly grated ginger in this recipe to add a unique twist. I also roasted the pumpkin, as you might recall from the first post, with maple syrup. I continued using maple syrup as a sweetener throughout this recipe.

Cardamom Spiced Maple Roasted Pumpkin Pie


Ingredients:


For the pie crust:

1 1/2 cups all-purpose flour
1/3 cup, plus 2 teaspoons of cold salted butter
1/4 cup cold or iced water
2 tablespoons maple syrup (or brown sugar)

Preheat the oven to 400ºF. In a large mixing bowl measure out the flour. Cut in the cold butter and work it with your fingers until the mixture resembles a course meal, with pea-sized pieces of butter still visible. Add the cold water and maple syrup. Combine the meal and the wet ingredients until it comes together forming a solid mass of dough. Do not work the dough too much. Cover the dough with plastic wrap and let sit in the fridge for about 25 minutes.

Roll out the pie crust to fit pie shell. The pie plate I used was a deep dish, so this made the bottom of the crust and there was enough extra for decoration along the crust. A braided crust or leaves looks particularly nice. Bake the pie shell in the preheated oven for 4 minutes, until the crust has a matte (not glossy) look to it. Remove from the oven and let cool slightly before adding the pie filling.
 
For the filling:

2 1/2 cups maple roasted pumpkin
4 eggs
1/2 cup maple syrup
1/8 cup milk or cream (you could also substitute this for almond or soy milk)
1/2 teaspoon freshly grated ginger
1 1/2 teaspoons ground cinnamon
1/2 teaspoon ground cardamom
1/4 teaspoon ground all-spice
1/2 teaspoon ground cloves
1/2 teaspoon ground nutmeg

Preheat your oven to 425ºF. In a large mixing bowl, combine all of the ingredients with a whisk. At this point the mixture will likely be a bit lumpy. I used my immersion blender to make a smooth pie filling mixture.

Pour the filling into the prepared pie crust. Bake in the preheated oven for 15 minutes. After this time, turn the oven down to 350ºF and bake for another 45 to 60 minutes until the crust is golden and the pie filling has set in the middle. Let the pie cool.


I enjoyed this pie without any topping, but whipped cream or vanilla ice cream would be heavenly with a slice.

Enjoy!

-Tina (Turnip)

Wednesday, 24 July 2013

Boozy Sweet Cherry Chèvre Ginger Biscuit Cheesecake

The farmer's markets in Ottawa have just been chock full of beautiful produce these past few weeks! This  Sunday, I grabbed a basket and with my four-legged best buddy in hand, took a glorious stroll down to the market at Brewer Park.

I picked up some great Art-is-In cheddar jalapeno bread, some tri-coloured green beans, some chèvre from Glengarry Fine Cheese and some gorgeous, plump, deep red sweet cherries.

Craving cheesecake (thanks to watching some old episodes of Nigella Bites) and inspired by my market purchases, I decided I would create a quick and easy, no-bake dessert to accompany my Sunday dinner.

Et voilà!

Boozy Sweet Cherry Chèvre Ginger Biscuit Cheesecake


Cherries:

1 cup pitted ripe sweet cherries
1 tablespoon honey
1/2 oz good quality gin

First, pit the cherries. I did this just by simply squeezing the pit out of the fruit. It is a bit messy, but it's pretty fun! There are other methods, such as using a cherry pitting gadget, but I like the squeezing method! In a bowl add the cherries, honey and gin together. Let the fruit macerate for15 minutes, while you make the other two parts of the cheesecake.


Crumble:

8-10 ginger biscuits crushed (admittedly, I just used store bought ones)
2 tablespoons melted butter
1 tablespoon brown sugar

Crush the ginger biscuits. I actually just used my hands, to create a rougher, more rocky-like crumble, but you can also use a food processor if you would like it to be finer. Add the melted butter and brown sugar and mix together. This will be the base of the cheesecake.

Filling:

1/3 cup chèvre
2 tablespoons honey
1 teaspoon vanilla extract
1/4 cup whipping cream
1 tablespoon brown sugar

Cream the chèvre together with the honey. In a separate bowl whip the whipping cream together with the vanilla extract and the brown sugar. Whip the cream until it forms soft, fluffy peaks. Fold the whipped cream gently into the chèvre. This will be the second layer of the cheesecake. 

To assemble the cheesecakes, in a clear glass vessel, layer the crumble, then the chèvre filling and finally spoon over the cherries and their juices. You can eat these right away or let sit in the fridge. These can also be made overnight, for a dinner party for example. The recipe makes two (or one big) cheesecake dessert.

I hope you enjoy the creamy, summery, boozy flavour of this dessert!

-Tina (Turnip)

Monday, 25 March 2013

Orange Maple Chocolate Cream Eggs

I am the first born grand-daughter on my mom's side of the family. Before I was born, my dad, jokingly warned my Nana, she'd better keep treats around the house once I came along. I don't know whether, she immediately had my Papa run her to the closest store to pick up some candy, but my dad says, from that day forward, she always had candies around her house. Easter was an especially chocolate and candy-abundant time at my Nana's house, and I just remember sneaking jelly beans and foil-wrapped chocolates from her various candy dishes. The tradition has lived on for my younger sister and my two younger cousins. After my Nana passed away, two years ago now, we have tried to make special homemade treats around the holidays in her memory.

This year, I was intrigued when I saw a Food52 article on DIY Cadbury Cream Eggs (http://food52.com/blog/6103-homemade-cadbury-creme-eggs). Using the method listed in the article I thought I would do my own take on the chocolate cream egg! I am so very pleased on how these little, gooey treats turned out - just in time for Easter!

Orange Maple Chocolate Cream Eggs


1/2 cup Maple Orange Simple Syrup (see method below)
6 tablespoons butter, softened
1/2 teaspoon salt
1 teaspoon vanilla extract
1 teaspoon maple extra or Sortilege
3 1/4 cups powdered sugar
1 bag bittersweet or dark chocolate chips
yellow food colouring

*Tips before you start:
  • This is a relatively easy endeavor if you follow the instructions, but it is a bit time consuming. Make sure to give yourself time enough to let the filling harden in the freezer between steps. It makes covering the eggs in chocolate so much easier.
  • Ensure you have wax or parchment paper for creating the filling. When you put the filling in the freezer to harden, placing it on wax paper will ensure it does not stick to anything.
  • Create space in your freezer before you begin.

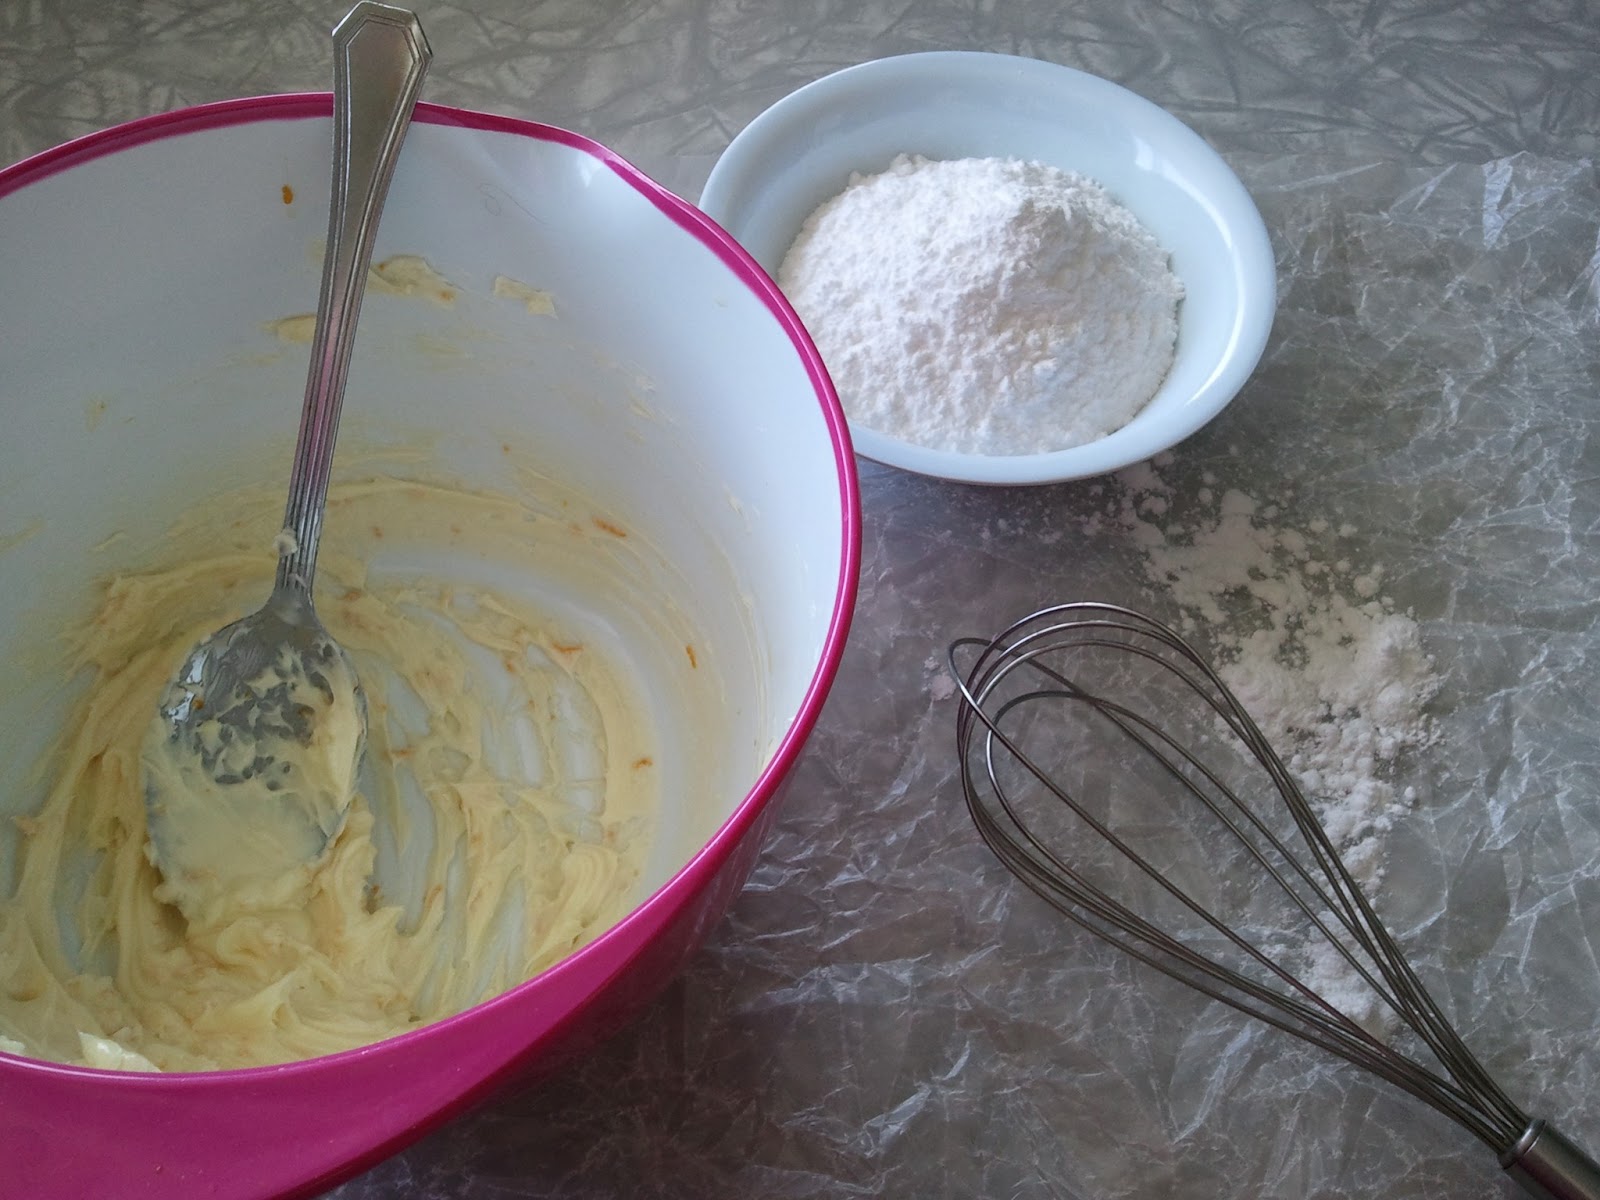
In a medium sized mixing bowl mix cream the butter, Maple Orange simple syrup, salt, vanilla and maple extracts. Mix the ingredients together very well until they are smooth. Make sure to scrape the bowl down with a rubber spatula.


Slowly add the powdered sugar a little at a time, until you have a smooth butter cream-like consistently. Take a quarter of the mixture in a small bowl and add yellow food colouring to make the yolk of the cream egg. The rest of the filling will be reserved for the egg white of the cream egg. 


Fill a piping bag or a plastic sandwich bag (cutting off the tip) with the yellow filling. To create the yolks for the cream eggs, pipe out small a small round of filling on some wax or parchment paper. Place in the freezer to harden for 10 minutes. The butter in the filling will harden making it easier to handle and cover with the cream egg white filling.


Once the yolks have hardened, take one tablespoon of the egg white and create a ball by rolling it in your hands. Create a divot in the ball of white filling and put one of the yolks in the centre. Cover the yolk centre over with the white filling and roll in your hands again creating a ball. To create an egg shape roll one end of the white slightly thinner. In this part, you must work quickly and take out the yolks one or two at a time so that they don't soften too quickly. 


Once you have created all your egg shape with the filling, place on wax or parchment paper and place in the freezer to harden for at least 15 minutes. 


While the egg filling is in the freezer hardening, melt your chocolate over a double boiler. The original recipe calls to melt the chocolate in the microwave in 30 second intervals, but I find that the chocolate melts more consistently and there is less chance of burning the chocolate when doing it over a double boiler. 


Once the egg filling has hardened in the freezer and the chocolate is melted, one at a time you can begin covering the egg fillings with chocolate. I used a fondue skewer and inserted it into the bottom part of the egg, using a tablespoon to spoon the chocolate over the egg, working quickly. Once  you have covered the egg filling with chocolate, gently tap the excess chocolate off and remove the skewer gently placing the eggs on wax paper.


Repeat this method to cover all of the chocolate eggs, then place in the fridge to harden the chocolate for about 10 minutes. Place in a container and keep in the fridge. And, that's it! You are done and ready to enjoy your homemade Easter treat!


Maple Orange Simple Syrup

1/2 cup granulated sugar
1/2 cup water
1 tablespoon Sortilege (or Maple Syrup)
orange rind

In a medium sized saucepan, over medium heat, mix the ingredients together. Bring the mixture to a slow simmer and cook for 5 minutes. Let cool before using.

*This simple syrup base could also be used to make a mixed drink (nudge!).

Enjoy!

-Tina (Turnip)


Sunday, 10 March 2013

Afternoon Almond Tea Cookies

It's a weekend afternoon. The house has been meticulously cleaned, the dog has been walked, you are dressed and ready to breathe a sigh of relief and sit down and relax, when your mother-in-law (or any other relative or friend) calls. They are in the neighborhood shopping and will be stopping by in 30 minutes. Eep! You don't have anything in the house to offer them. No cookies. No crackers and cheese. What to do?

Based on a recipe from L. Michelle ("Easiest Almond Cookies") I whipped up a batch of these cookies to offer my guest in no time! They are made with few ingredients, of which you will likely have somewhere in your pantry. Dusted with a bit of powdered sugar they are great, but I imagine they would also be amazing dipped in chocolate. Serve with a nice loose leaf tea!

Almond Tea Cookies


1 1/4 cups almond flour
1 egg
1 tablespoon butter or vegetable shortening
1/4 cup sugar
1/4 teaspoon almond extract

Preheat your oven to 325 degrees Fahrenheit. In a medium bowl cream the butter and sugar together. Add the egg and almond extract, mix well. Incorporate the almond flour. 


The dough will be wet and sticky. Based on the original recipe and photos, I was not expecting the dough to be so sticky. So, I decided to adapt how I would make the cookie shapes. Because the dough was not dry enough to roll out, I used a heavy duty ziploc bag to pipe out the dough onto the non-stick cookie sheet into small log shapes. When you are piping out the dough, ensure all of the air is out of the bag, otherwise it may burst.

Bake the cookies for 12-14 minutes in the preheated oven. Remove from the oven and let cool on the pan for about 10 minutes. Remove the cookies from the pan and transfer to a plate; dust with icing sugar. 


Enjoy!

-Tina (Turnip)

Slow Sunday - Cinnamon Cardamom Basmati Rice Pudding

After waking up disoriented due to the daylight savings time change, I knew it would be another slow weekend morning. I was craving something creamy, warm and satisfying. Why not rice pudding? This is a simple recipe which is great for breakfast, but would also work as a dessert.

Cinnamon Cardamom Basmati Rice Pudding

*Recipe adapted from Canadian Living


2 tablespoons of butter
1/2 cup basmati rice
5 cardamom pods
1 cinnamon stick
2 1/2 cups 2% milk
2 tablespoons sugar
1 orange supremed
ground cinnamon 

In a medium sauce pan, melt the butter and add in the rice cardamom pods and cinnamon stick. Coat the rice and spices with the butter. Add in the milk and sugar and stir. Bring the mixture to a boil. Reduce the heat to medium-low, cover and simmer, stirring quite often. The rice will be cooked when most of the milk has been absorbed. I personally like my rice pudding less thick. Serve with supremed oranges on top with some ground cinnamon to taste. 


Enjoy!

-Tina (Turnip)

Saturday, 2 February 2013

Baking Break

I don't know about any of you, but this was a tough week! I work at the Community Foundation of Ottawa, a fantastic organization which helps to fund charitable activities in Ottawa. I specifically work on the Grants and Community Initiatives team and this week we had an important grant deadline. On top of a crazy week, unfortunately I injured my back, missing two days of work. Once I returned back to work, it was extremely busy and I was so happy for 5:00 pm on  Friday to come! Because of my sore back, I was pretty useless at home and relied on my fabulous boyfriend to take care of most meals - except for the delicious dinner of baked enchiladas and Spanish rice that Alex generously cooked for us. Finally, Saturday morning arrived and after a good night's sleep and my back feeling a bit better, I was ready tackle some house work. With that done, I decided I would take a baking break and make a treat for the guy who took care of me all week. Something sweet, salty and comforting. I decided on Peanut Butter Swirl Brownies. They turned out delicious! I can't wait for him to get home to try them! And an added bonus, our clean apartment also smells of heavenly baked goods!

Peanut Butter Swirl Brownies


Brownie Batter

8 tablespoons of butter
6 ounces of bittersweet chocolate chips
3/4 cup granulated sugar
3 eggs
1/2 teaspoon vanilla
2/3 cup flour
1/4 teaspoon salt
1/2 teaspoon baking power

Peanut Butter Swirl

4 tablespoons melted butter
3/4 cup peanut butter
3/4 cup powdered sugar
1/4 teaspoon salt

Preheat your oven to 325 Fahrenheit. In an 8 inch by 8 inch square baking pan, place parchment paper in the bottom, leaving extra on the sides to lift the brownies out of the pan. Butter the parchment paper for even easier removal. Set to the side.

For the brownie batter, in a double boiler, melt the butter and chocolate. Take off the heat and let cool slightly. Add the sugar and whisk until smooth. Add the eggs, one at a time and whisk until smooth, then add the vanilla. In a separate bowl mix the flour, salt and baking powder. Add the wet and dry ingredients together and mix until the batter is smooth. For the peanut butter swirl, melt the butter and add it to the peanut butter, powdered sugar and salt. Mix until smooth.

Pour the brownie batter into the prepared baking pan. Dollop the peanut butter mixture in the brownie batter and swirl with a knife. Bake the brownies in the oven for 30 minutes or until you are able to test the centre of the brownies with a knife, and it comes out clean. Let the brownies cool  in the baking pan. Once cool, remove the brownies and slice until squares. It will be so very tempting to take the brownies out of the pan when they are warm, but you will risk them falling apart.

Enjoy with a big glass of milk!

Tuesday, 8 January 2013

Chocolate chip peanut crisp cookies with Sortilege


Chocolate chip peanut crisp cookies with Sortilege

1/2 cup shortening
1/2 cup butter or margarine
1 cup packed brown sugar
1/2 cup granulated sugar
1/2 teaspoon baking soda
2 eggs
1 teaspoon Sortilege
2 1/2 cups of all-purpose flour
1/2 cup semi-sweet chocolate chips
1/4 cups of chopped peanut crisp candies

Preheat your oven to 375 Fahrenheit. In a large mixing bowl, with an electric mixer, beat the shortening and butter together until fluffy. Add the sugar and beat for another 30 seconds. Add the eggs, Sortilege and baking powder. Beat for 1 minute. Gradually add the flour. Once the mixture resembles a dough, add the chocolate chips and peanut crisp bits, and fold them in. 

On non-stick, ungreased baking sheets dollop spoons of the cookie dough spaced about  inch apart. Bake in the preheated oven for 8 minutes. Let the cookies cool slightly on the pan before transferring to a plate or cookie tin. 

Sweet, chewy, crispy, yummy! Enjoy!