
This year, I was intrigued when I saw a Food52 article on DIY Cadbury Cream Eggs (http://food52.com/blog/6103-homemade-cadbury-creme-eggs). Using the method listed in the article I thought I would do my own take on the chocolate cream egg! I am so very pleased on how these little, gooey treats turned out - just in time for Easter!
Orange Maple Chocolate Cream Eggs

1/2 cup Maple Orange Simple Syrup (see method below)
6 tablespoons butter, softened
1/2 teaspoon salt
1 teaspoon vanilla extract
1 teaspoon maple extra or Sortilege
3 1/4 cups powdered sugar
1 bag bittersweet or dark chocolate chips
yellow food colouring
*Tips before you start:
- This is a relatively easy endeavor if you follow the instructions, but it is a bit time consuming. Make sure to give yourself time enough to let the filling harden in the freezer between steps. It makes covering the eggs in chocolate so much easier.
- Ensure you have wax or parchment paper for creating the filling. When you put the filling in the freezer to harden, placing it on wax paper will ensure it does not stick to anything.
- Create space in your freezer before you begin.
In a medium sized mixing bowl mix cream the butter, Maple Orange simple syrup, salt, vanilla and maple extracts. Mix the ingredients together very well until they are smooth. Make sure to scrape the bowl down with a rubber spatula.
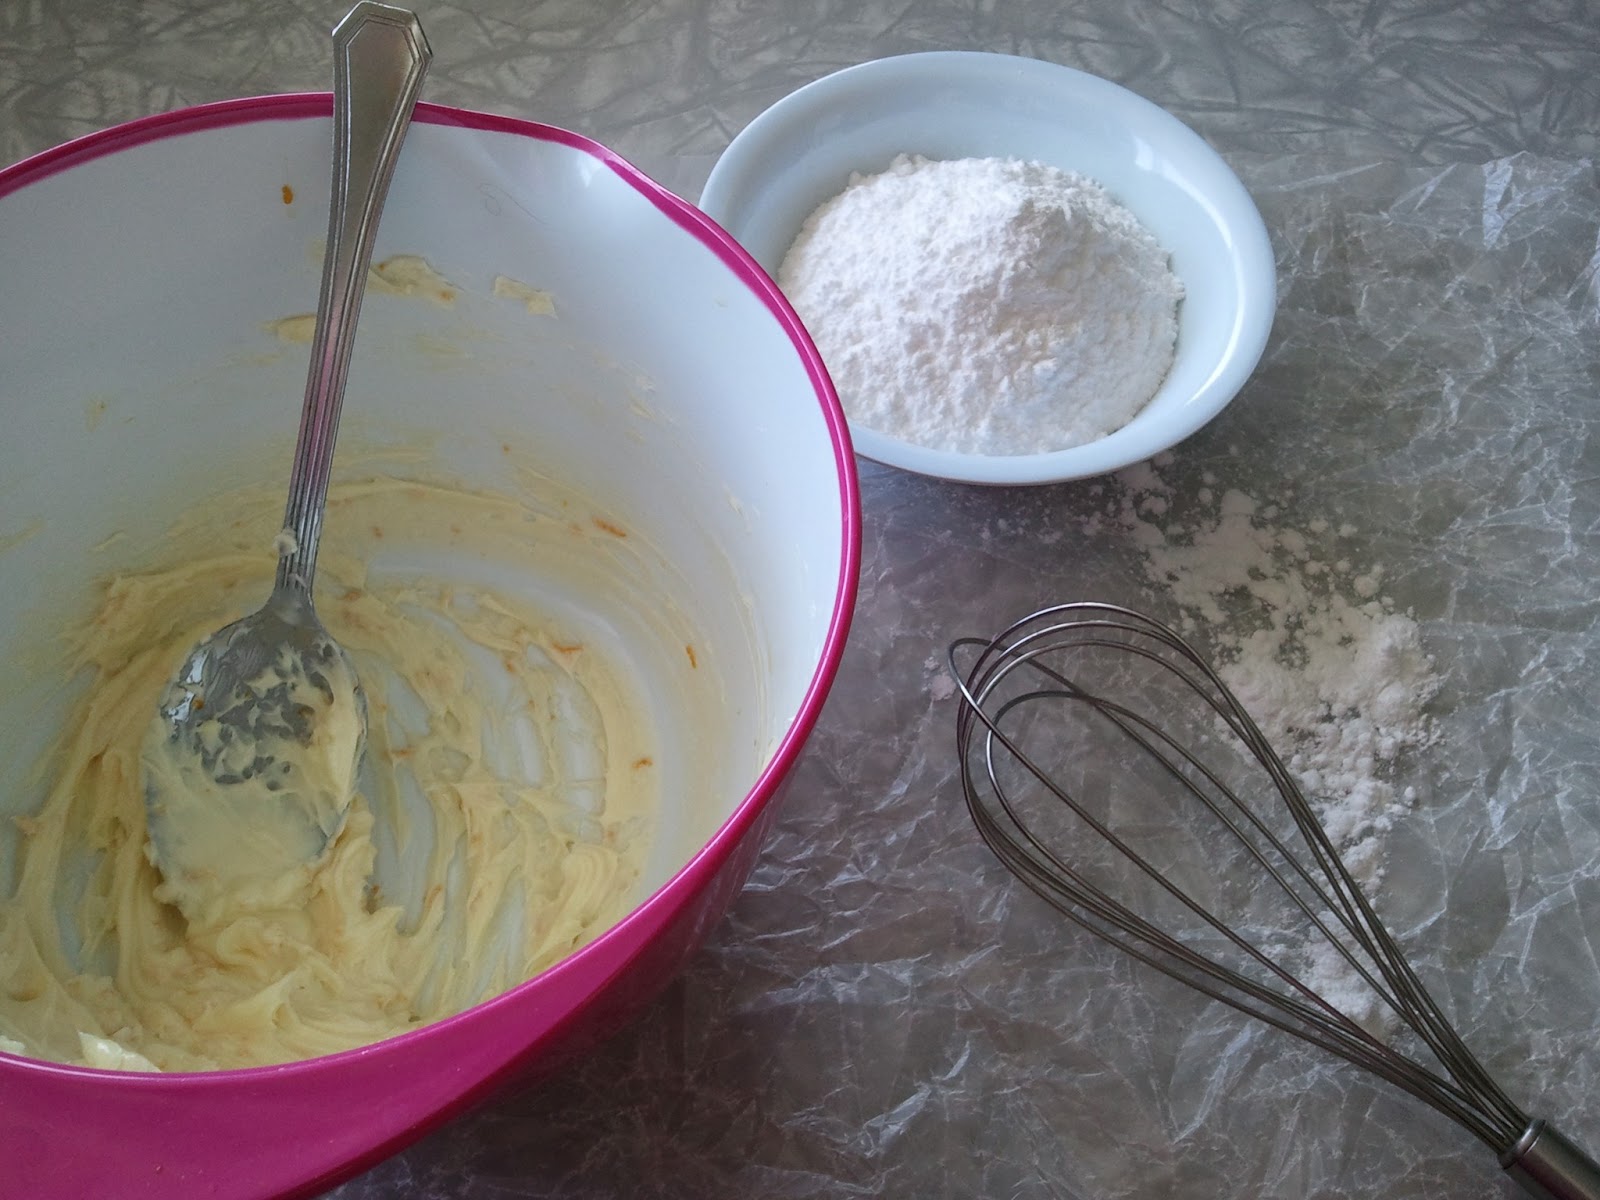
Slowly add the powdered sugar a little at a time, until you have a smooth butter cream-like consistently. Take a quarter of the mixture in a small bowl and add yellow food colouring to make the yolk of the cream egg. The rest of the filling will be reserved for the egg white of the cream egg.

Fill a piping bag or a plastic sandwich bag (cutting off the tip) with the yellow filling. To create the yolks for the cream eggs, pipe out small a small round of filling on some wax or parchment paper. Place in the freezer to harden for 10 minutes. The butter in the filling will harden making it easier to handle and cover with the cream egg white filling.

Once the yolks have hardened, take one tablespoon of the egg white and create a ball by rolling it in your hands. Create a divot in the ball of white filling and put one of the yolks in the centre. Cover the yolk centre over with the white filling and roll in your hands again creating a ball. To create an egg shape roll one end of the white slightly thinner. In this part, you must work quickly and take out the yolks one or two at a time so that they don't soften too quickly.

Once you have created all your egg shape with the filling, place on wax or parchment paper and place in the freezer to harden for at least 15 minutes.

While the egg filling is in the freezer hardening, melt your chocolate over a double boiler. The original recipe calls to melt the chocolate in the microwave in 30 second intervals, but I find that the chocolate melts more consistently and there is less chance of burning the chocolate when doing it over a double boiler.

Once the egg filling has hardened in the freezer and the chocolate is melted, one at a time you can begin covering the egg fillings with chocolate. I used a fondue skewer and inserted it into the bottom part of the egg, using a tablespoon to spoon the chocolate over the egg, working quickly. Once you have covered the egg filling with chocolate, gently tap the excess chocolate off and remove the skewer gently placing the eggs on wax paper.

Repeat this method to cover all of the chocolate eggs, then place in the fridge to harden the chocolate for about 10 minutes. Place in a container and keep in the fridge. And, that's it! You are done and ready to enjoy your homemade Easter treat!


Maple Orange Simple Syrup
1/2 cup granulated sugar
1/2 cup water
1 tablespoon Sortilege (or Maple Syrup)
orange rind
In a medium sized saucepan, over medium heat, mix the ingredients together. Bring the mixture to a slow simmer and cook for 5 minutes. Let cool before using.
*This simple syrup base could also be used to make a mixed drink (nudge!).
Enjoy!
-Tina (Turnip)
Enjoy!
-Tina (Turnip)
No comments:
Post a Comment